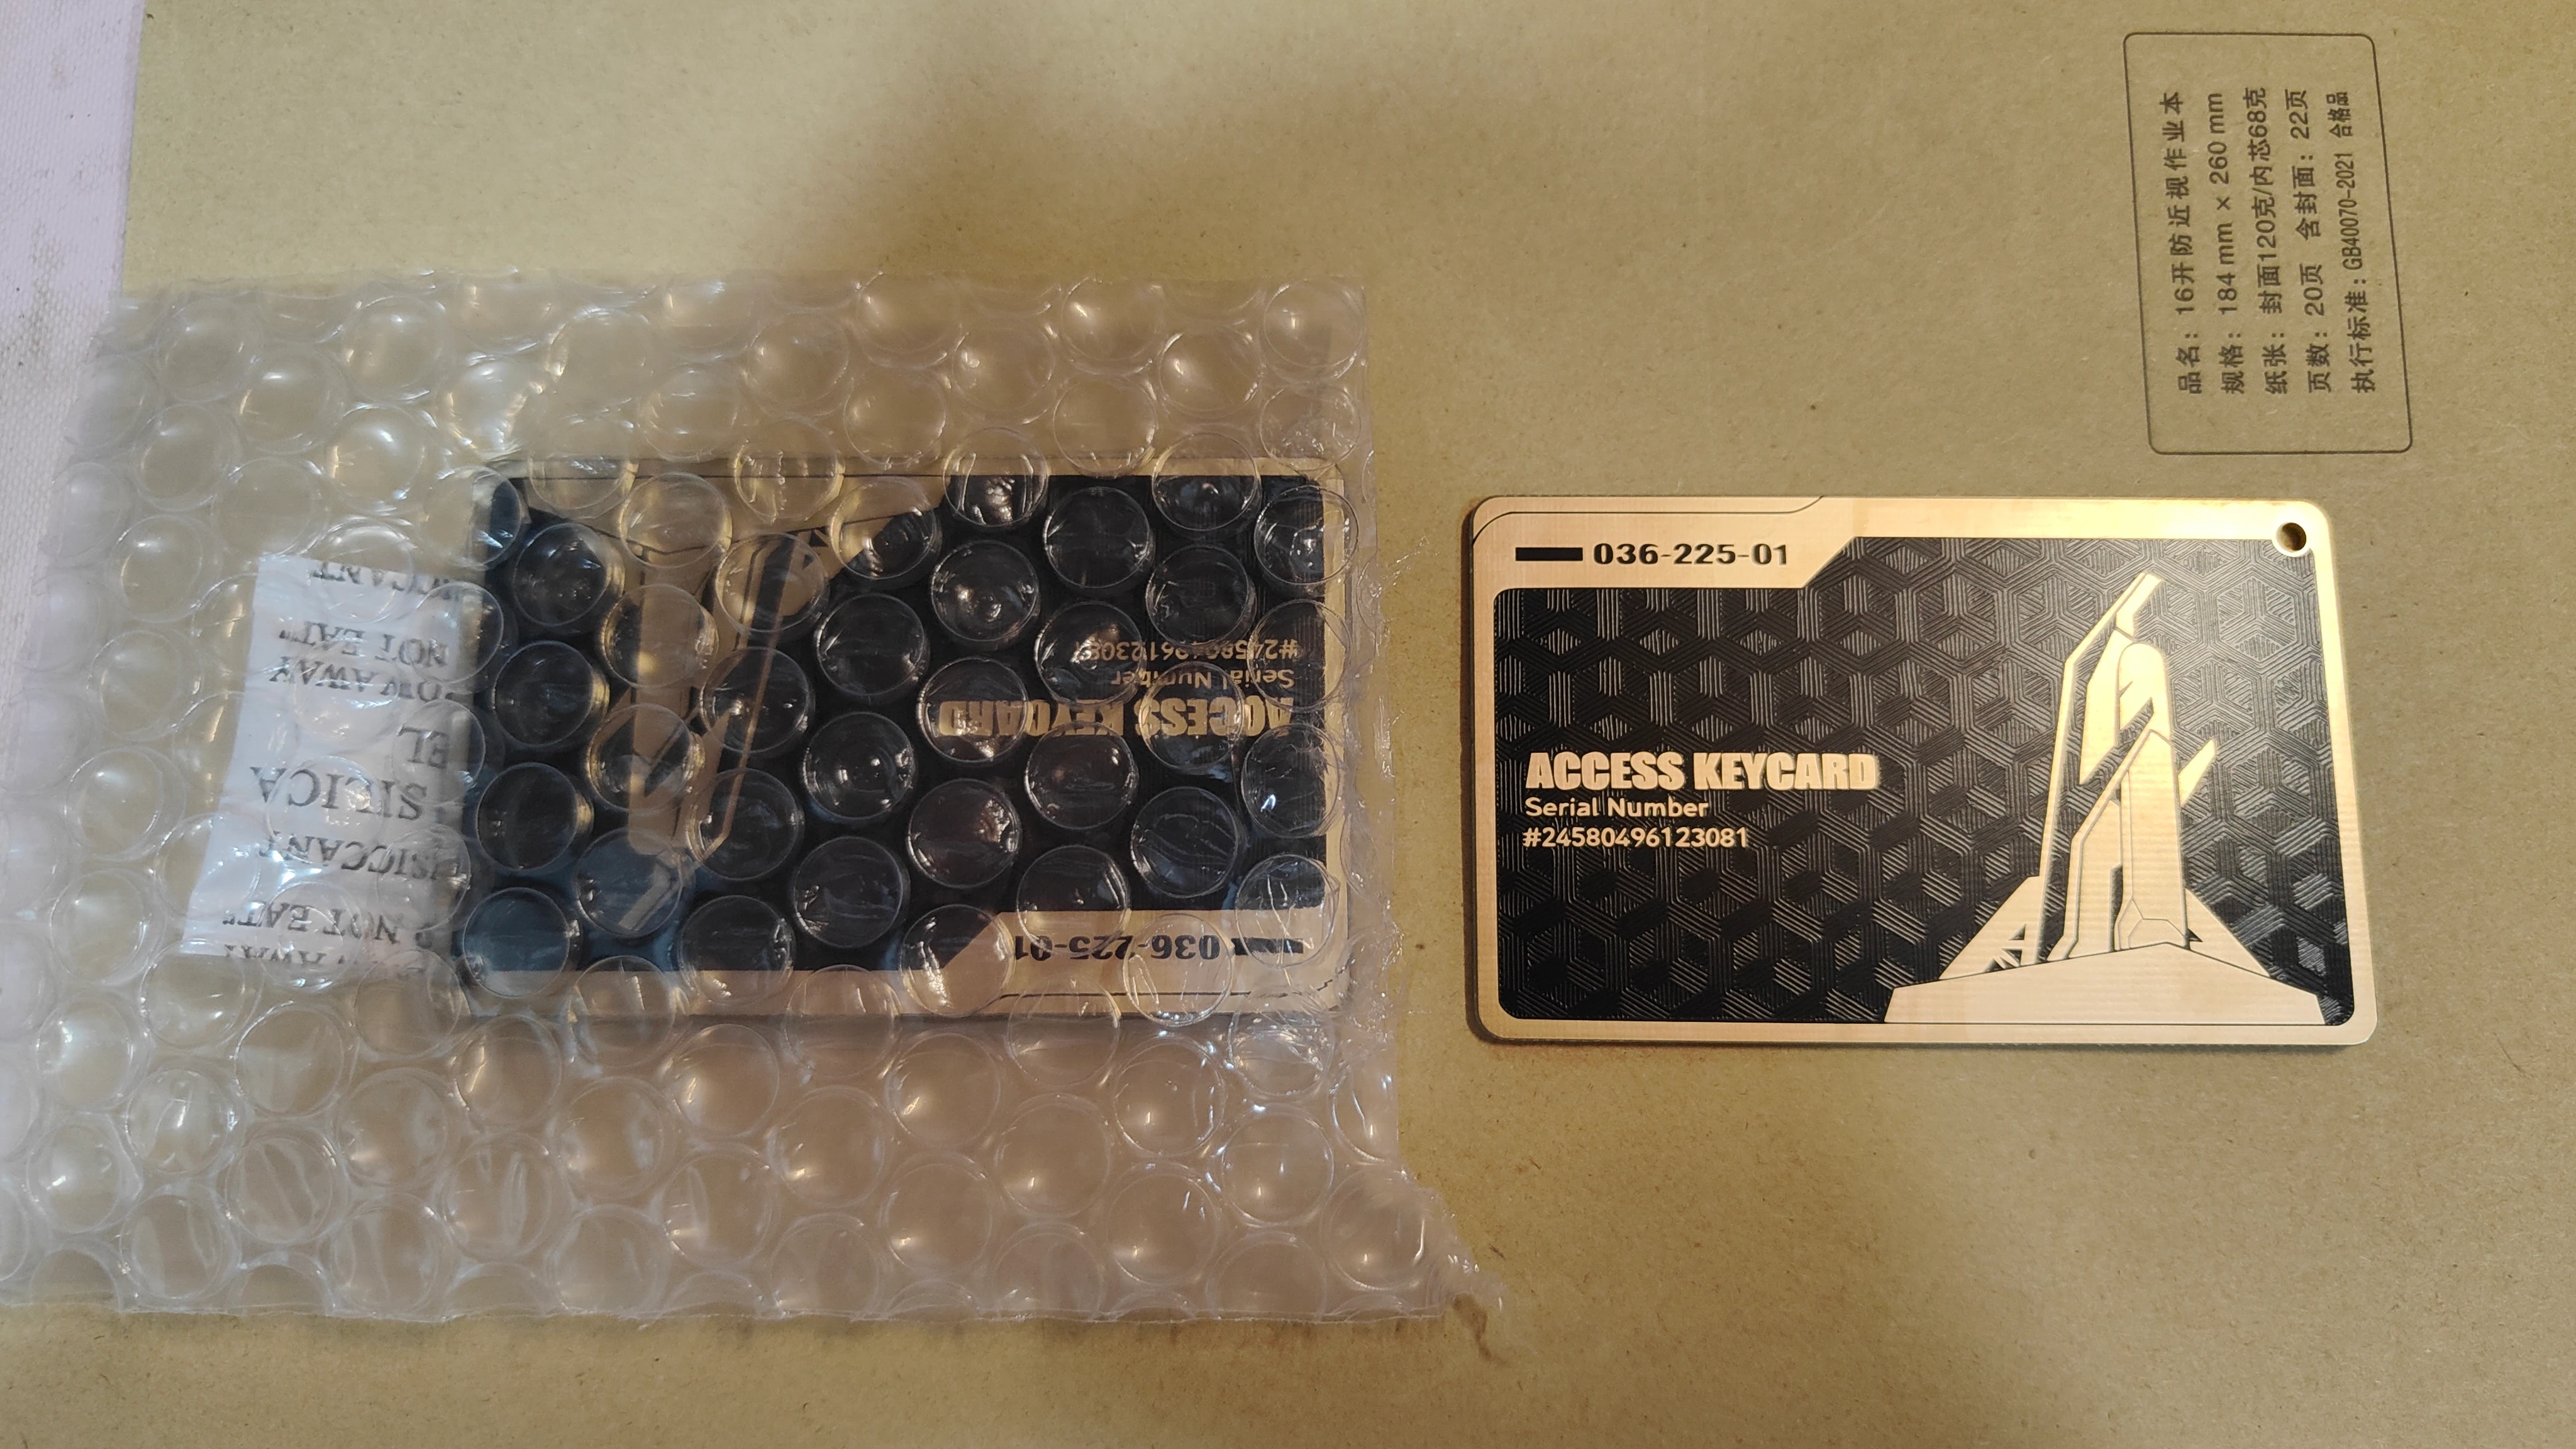
在WSL中使用Canokey智能卡进行Git Commit签名
前言
最近有在WSL开发的需求,不过发现在WSL里使用Canokey智能卡签名Git Commit有些问题,因此出这一篇教程
正文
确认WSL版本
下面的步骤都需要时WSL2才能进行
1 | wsl -l -v |
应该类似为:
1 | NAME STATE VERSION |
如果是WSL1则需要切换到WSL2
1 | wsl --set-version Ubuntu 2 |
安装usbipd-win
1 | winget install --interactive --exact dorssel.usbipd-win |
插入Canokey后
1 | usbipd list |
应该会看到类似输出:
1 | BUSID VID:PID DEVICE STATE |
这里需要记住BUSID
启动管理员命令提示符
1 | usbipd bind --busid 2-4 |
然后输入
1 | usbipd list |
这时设备应该从Not shared转变为Shared
附加设备
将设备附加到WSL
1 | usbipd attach --wsl --busid 2-4 |
此时再执行usbipd list,应该会看到Shared转变为了Attached,并且会有Windows提示音
然后进入WSL检查设备情况:
1 | lsusb |
应该会出现下面类似输出
1 | Bus 001 Device 003: ID 20a0:42d4 Clay Logic CanoKey Canary |
安装PC/SC组件
1 | sudo apt install pcscd pcsc-tools libccid |
启动组件
1 | sudo systemctl enable --now pcscd.socket |
然后检查card情况
1 | pcsc_scan |
如果出现智能卡信息则代表成功
如果出现Access denied,但是sudo pcsc_scan可以看到智能卡信息,则还需要一些配置:
1 | sudo nano /etc/polkit-1/rules.d/49-pcscd.rules |
写入(注意改用户名):
1 | polkit.addRule(function(action, subject) { |
继续重启:
1 | sudo systemctl restart polkit |
然后pcsc_scan应该能够正常输出智能卡信息
调整gpg配置
1 | cat ~/.gnupg/scdaemon.conf |
查看是否有disable-ccid字样
如果没有这个文件的话:
1 | mkdir -p ~/.gnupg |
最后:
1 | gpgconf --kill all |
测试:
1 | gpg --card-status |
此时应该就能正常输出智能卡信息了
导入公钥
这个没什么好说的
1 | gpg --import <公钥文件路径> |
配置GPG TTY
有大概率GPG会找不到TTY,导致pinentry出现问题
可以先测试
1 | export GPG_TTY=$(tty) |
然后尝试签名:
1 | git commit -S -m "test signed commit" |
如果能正常显示Card PIN输入界面,即配置完成
将配置持久化:
1 | nano ~/.bashrc |
将
1 | export GPG_TTY=$(tty) |
放在文件末尾
1 | source ~/.bashrc |
本博客所有文章除特别声明外,均采用 CC BY-NC-SA 4.0 许可协议。转载请注明来源 GoodBoyboy 's Blog|惬意小屋-点滴记忆!

Invitation
GoodBoyboy
5201314***
created:09/04/2015
Welcome to MyBlog
Use this card to join MyBlog and participate in a pleasant discussion together .
Welcome to GoodBoyboy 's Blog,wish you a nice day .

相关推荐

2024-12-04
Canokey Canary到货咯
开箱 今天收到了新的Canokey,版本名叫Canary。 外包装上和上代差不多,因为是尝鲜版(139CNY),所以没有送配件。 外观和上代好像差不多,触摸点面积变大了。 不过最大的改变就是由原来的A口变成了C口。 功能 功能上当前固件版本是3.0.0,与我原来那个1.6.2的Pigeon相比,有了一些改变: 硬件上由原来的A口变为C口,并且NFC功能大幅改善,能够正常通过NFC进行操作 Webauthn(passkey): 支持 Credential Management, Credential Protection, Credential Blob, Large Blob K...
2025-12-24
Canokey导入S/MIME邮箱证书并使用Thunderbird发送邮件
前期准备 Tips: 需要安装1.2.4以及以下的版本,高版本不支持Canokey(或者使用Canokey自家的ckman也行) 安装ykman:https://developers.yubico.com/yubikey-manager-qt/Releases/ S/MIME邮箱证书可以看我上一篇文章(1.90$申请 WISeID S/MIME 邮箱证书) S/MIME邮箱证书 安装OpenSC:https://github.com/OpenSC/OpenSC 导入证书 目前Canokey支持以下几种算法的证书 RSA2048 NIST P-256 NIST P...
2023-04-21
如何优雅且合理的备份Hexo源文件
旅游回来更新的第一篇文章。。。 前言 我们都知道hexo是采用生成静态文件然后部署到服务器上的这种模式,那么我们肯定也是需要备份源文件的 否则当源文件丢失时,整个博客也可以说是直接寄了 当然这种方法也可以用于多设备同步,方便你在各个电脑上玩hexo 软件 我们这里采用的是Git 没错就是Git这个版本控制工具 而且官方其实已经对这种方法进行了适配 从hexo根目录的.gitignore文件就可以看出,hexo官方已经帮我们准备好了哪些文件是不需要我们进行备份的 我们其实可以打开.gitignore文件,看到一下目录列表 12345678.DS_StoreThumbs.dbdb.jso...
2025-07-13
GitHub release以及Git Commit常用模板
前言 最近发现Lobe Chat的Commit和Release内容都很美观,找Gemini要了个模板过来。 Git Commit 模板 结构: 12345<emoji> <type>(<scope>): <subject><BLANK LINE><body><BLANK LINE><footer> 常用Emoji与类型: Emoji 类型(type) 描述 示例 ✨ feat 新增功能 (A new feature) ✨ feat(api): 新增用户注册接口 🐛 fix ...
评论
FurtalkUtterances